Wavity AI Assignment feature automatically categorizes tickets by analyzing the content of the email body or description of ticket, thereby streamlining the ticket management process and improving efficiency.
The AI feature can be enabled within the App Design section of the Wavity platform.
Only Admin users have the permission to enable this feature.
To enable the AI feature, follow these steps:
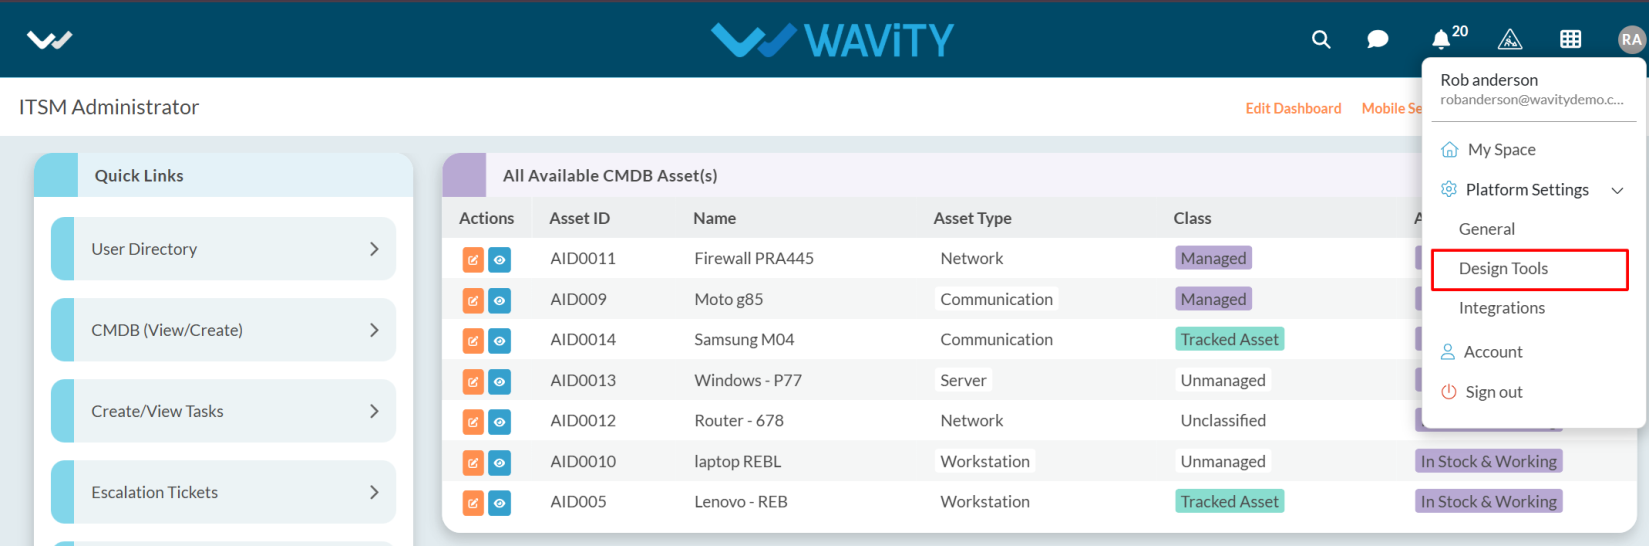
Click on the Profile icon.
Open Design Tools.
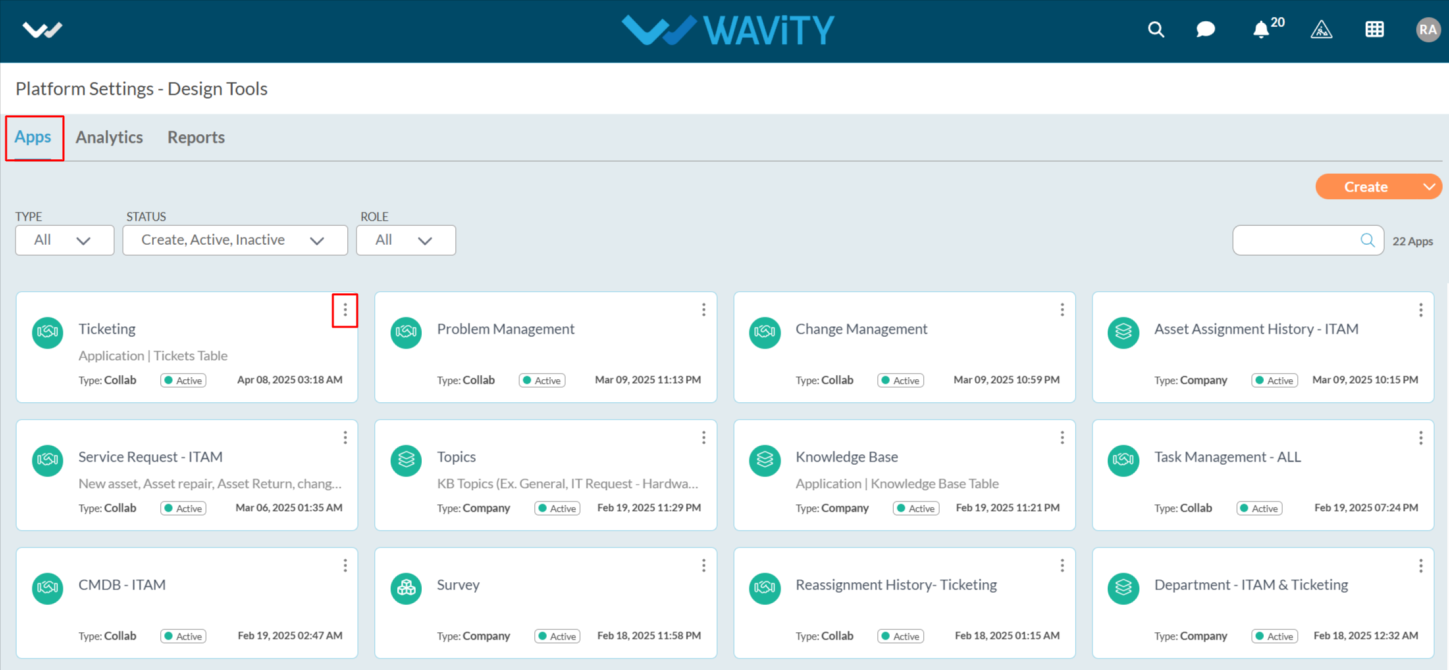
Go to the Apps, pick the app you want, and click on the three dots.
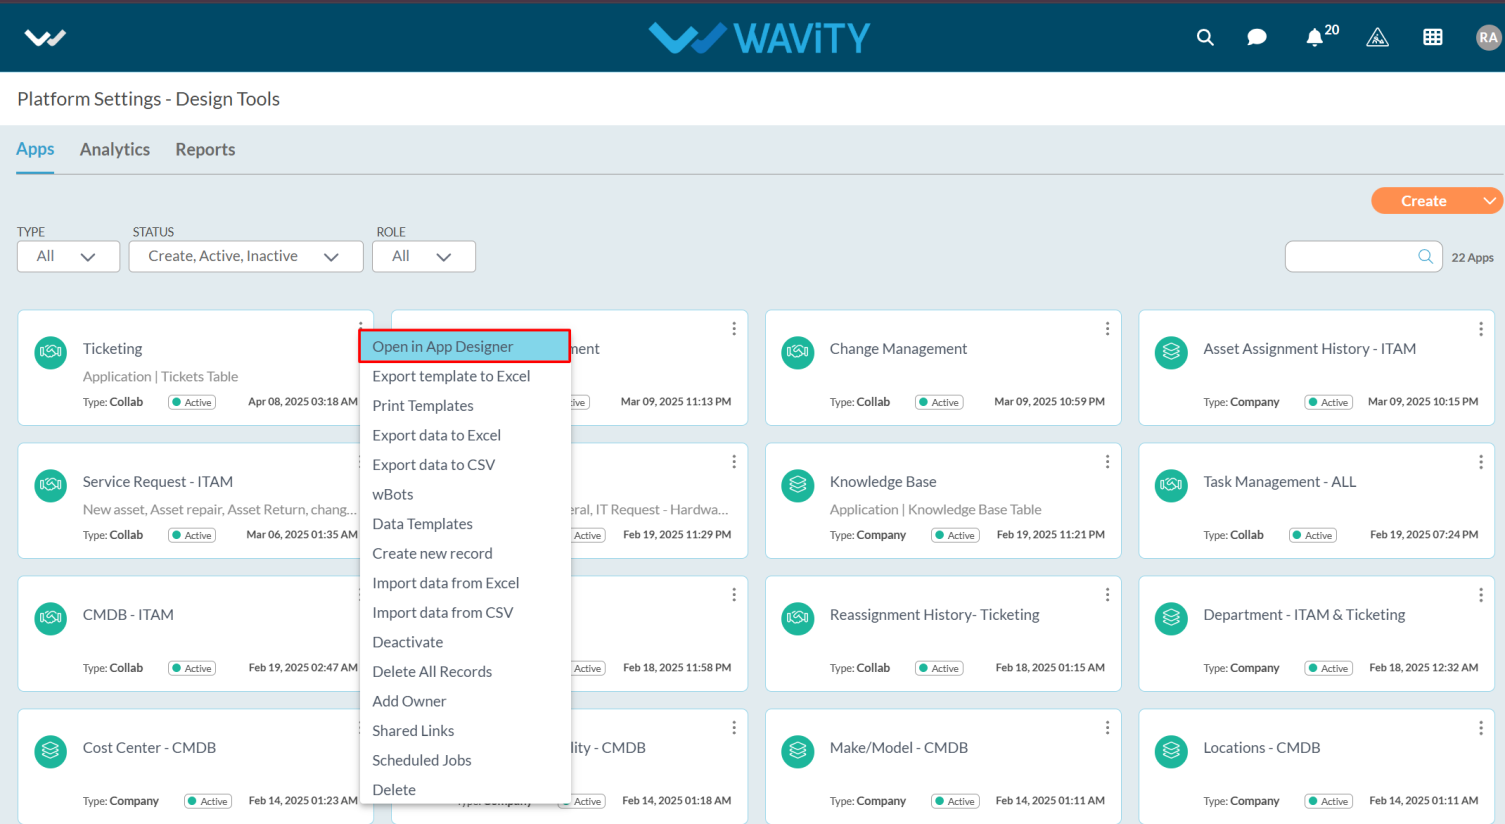
From the three-dot menu, choose Open App Designer.
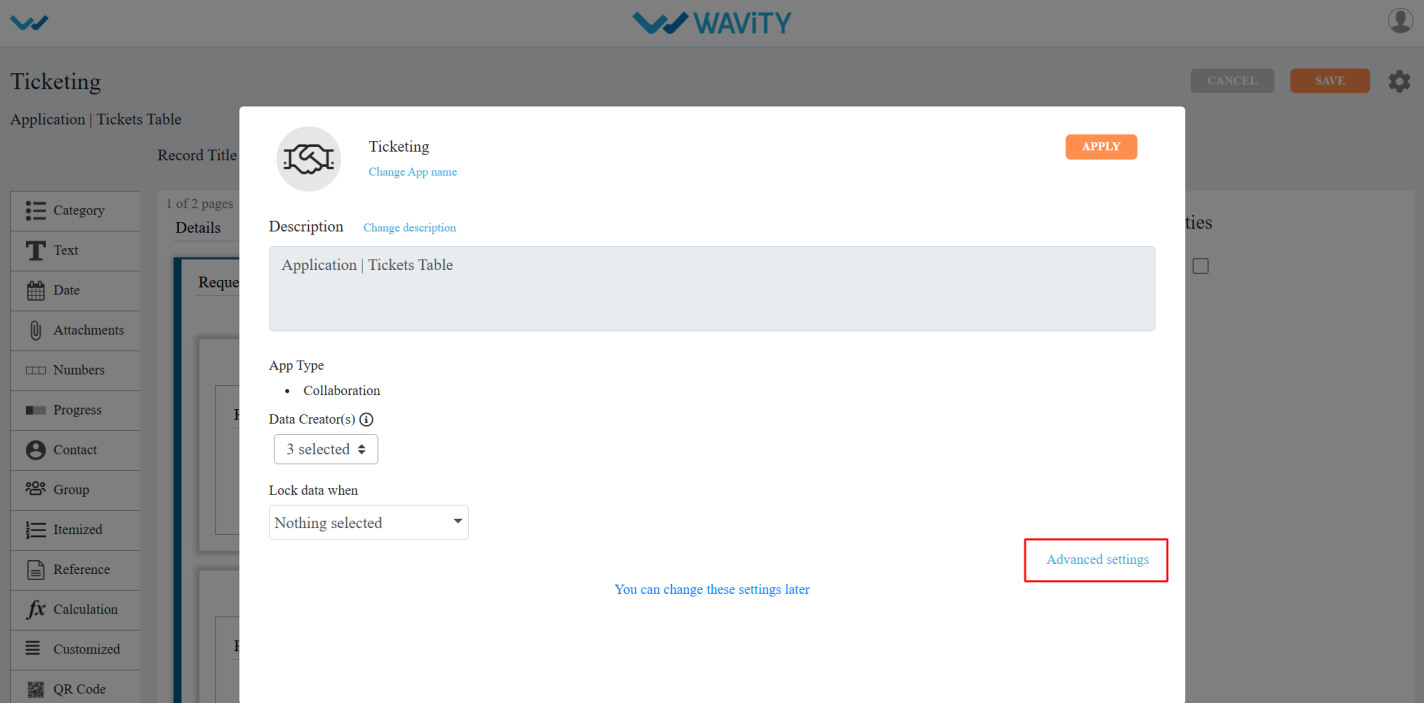
Click the Settings icon.
Click on Advanced settings.
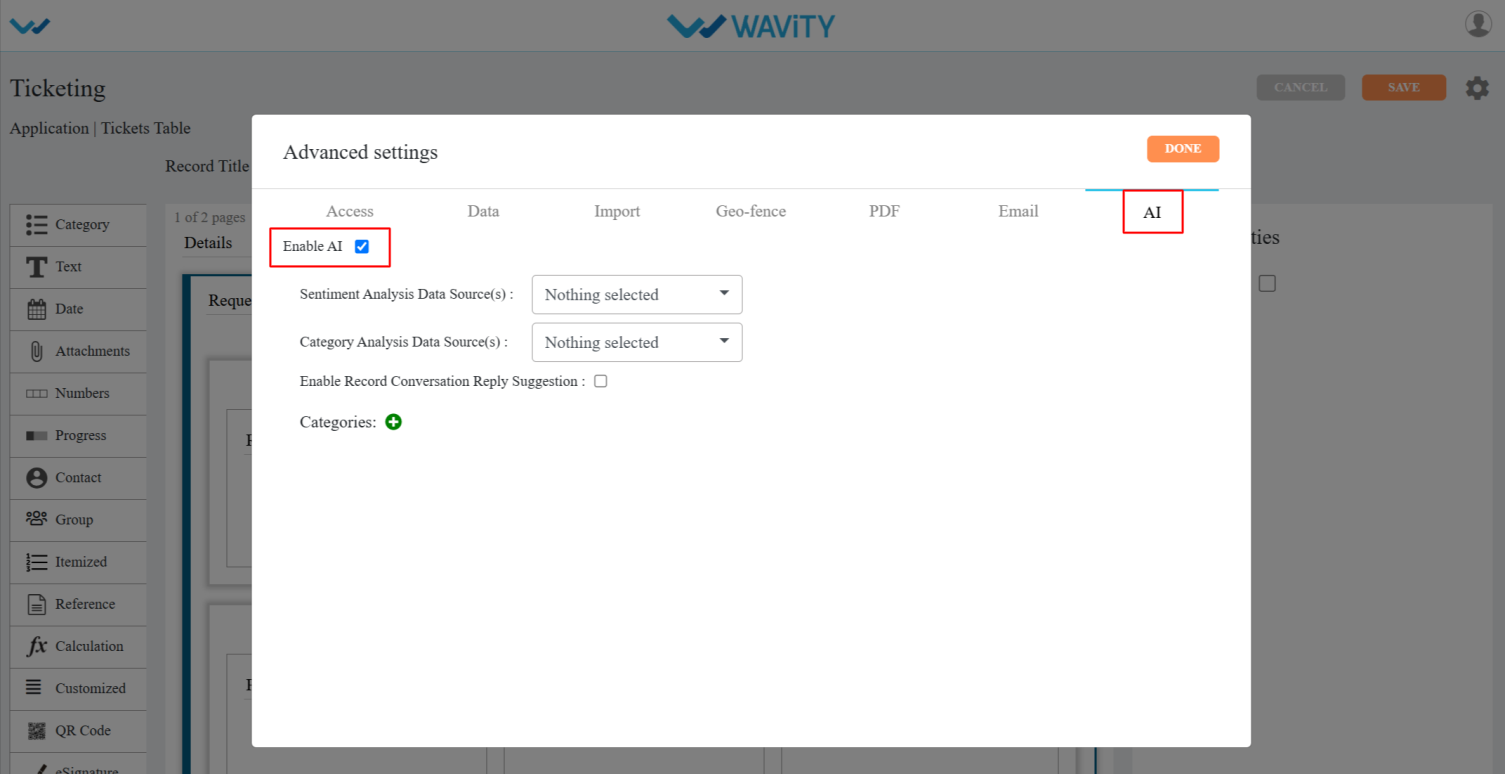
Select the AI section; Check the box to enable the AI feature, as shown in the image below.
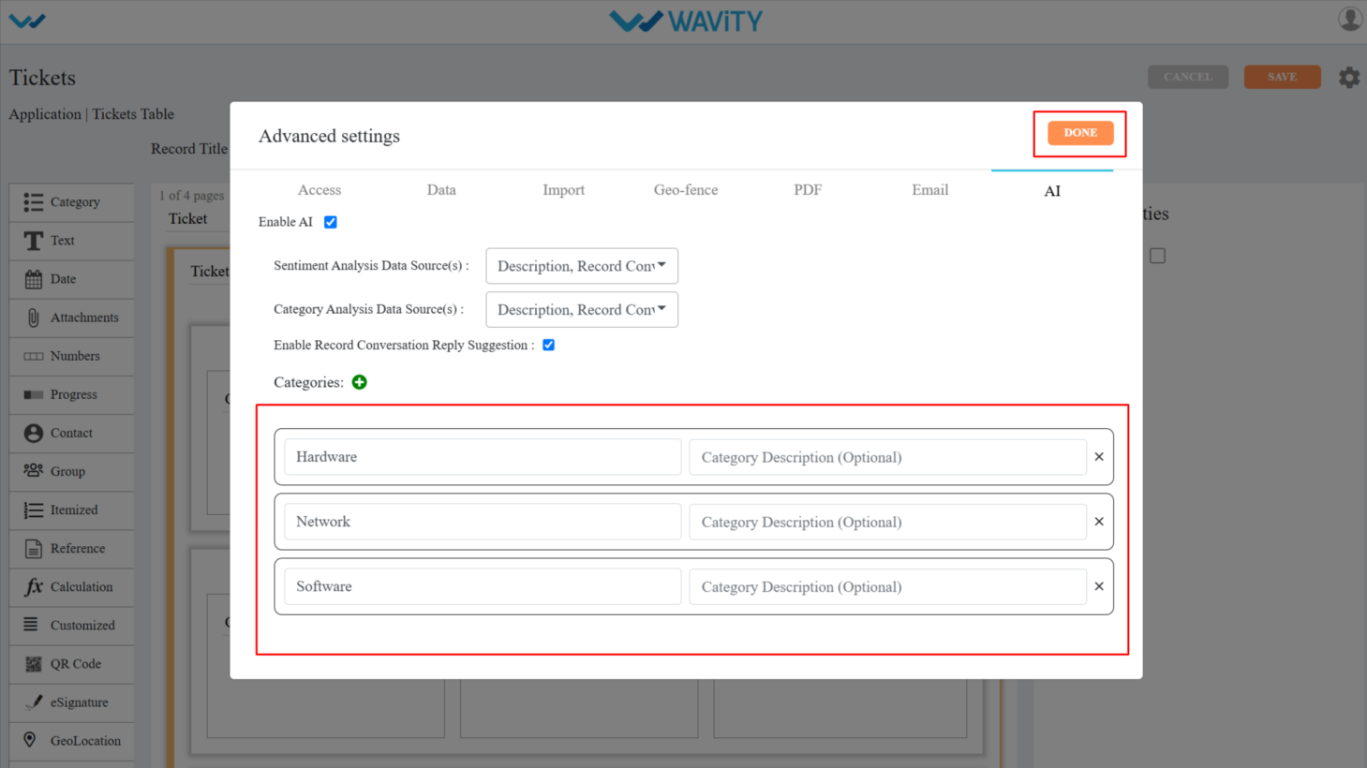
Select the required Data Controls from the dropdowns in both Sentiment Analysis and Category Analysis to categorize tickets based on the email body or ticket description.
Click the + icon under Category Analysis and enter the required category names.
Click on done, then apply, and finally save the settings.
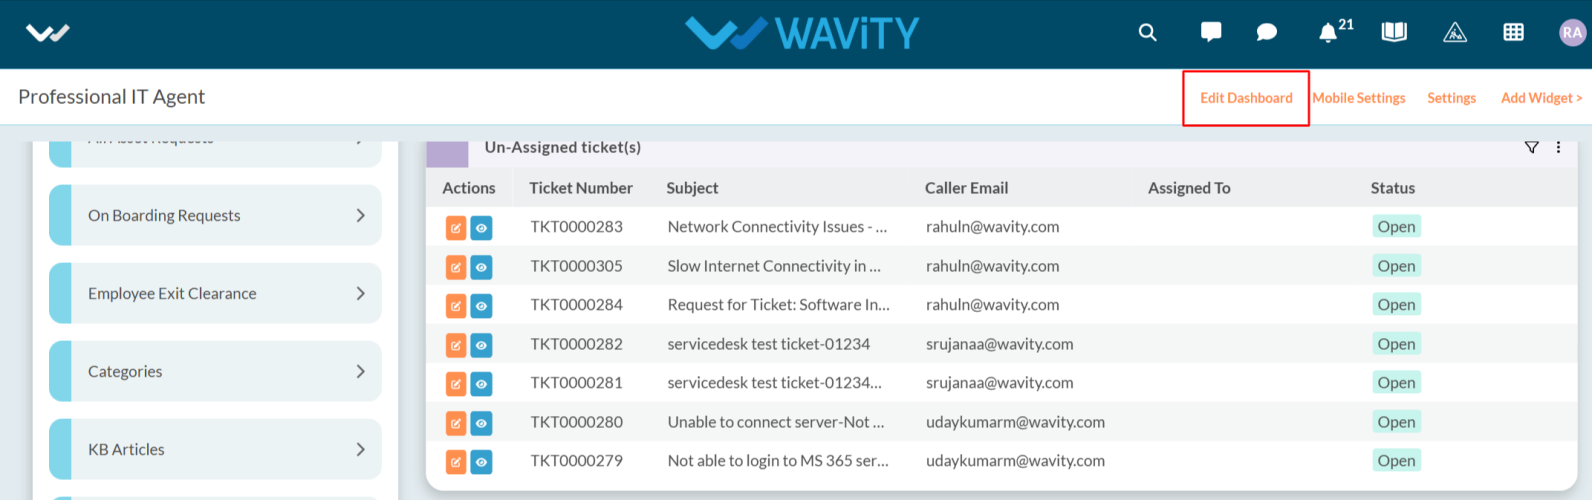
Now, navigate through the interface and enable AI by clicking the Edit Dashboard option as shown below.
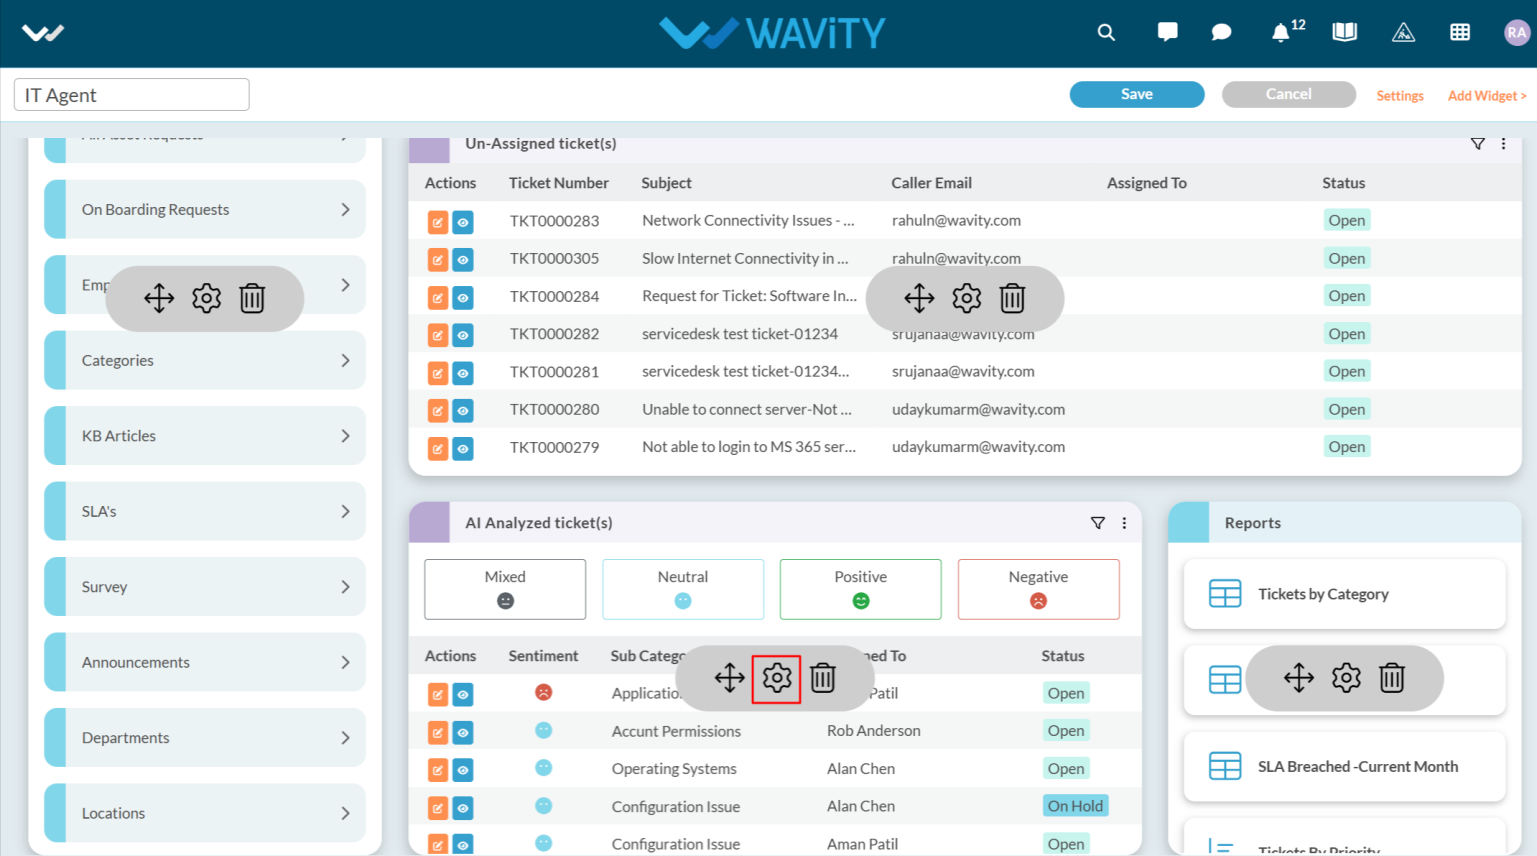
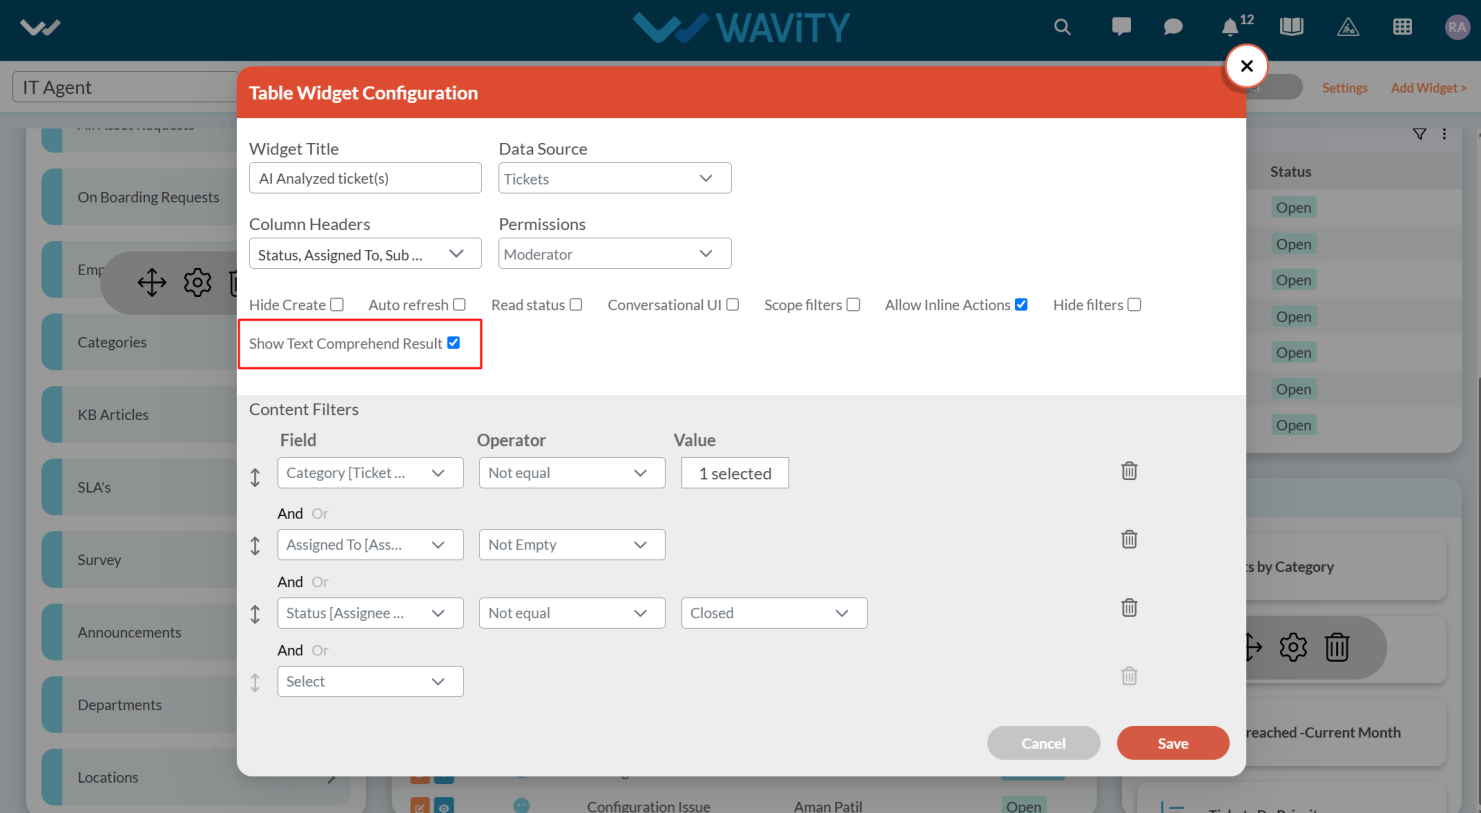
Click on Setting Icon on the Widget as shown below.
Select Show Text Comprehend Result and click the Save button to enable AI Sentiment Analysis with "Emoji" icons in the interface.
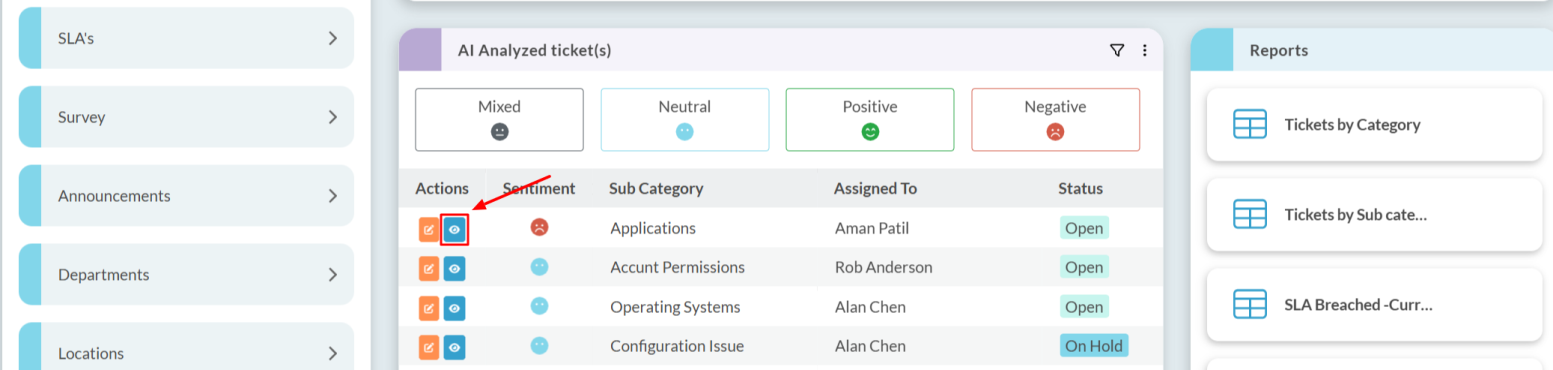
Additionally, you can view the details of AI Ticket Categorization for each ticket by clicking on the "blue" icon, as shown in the image below.
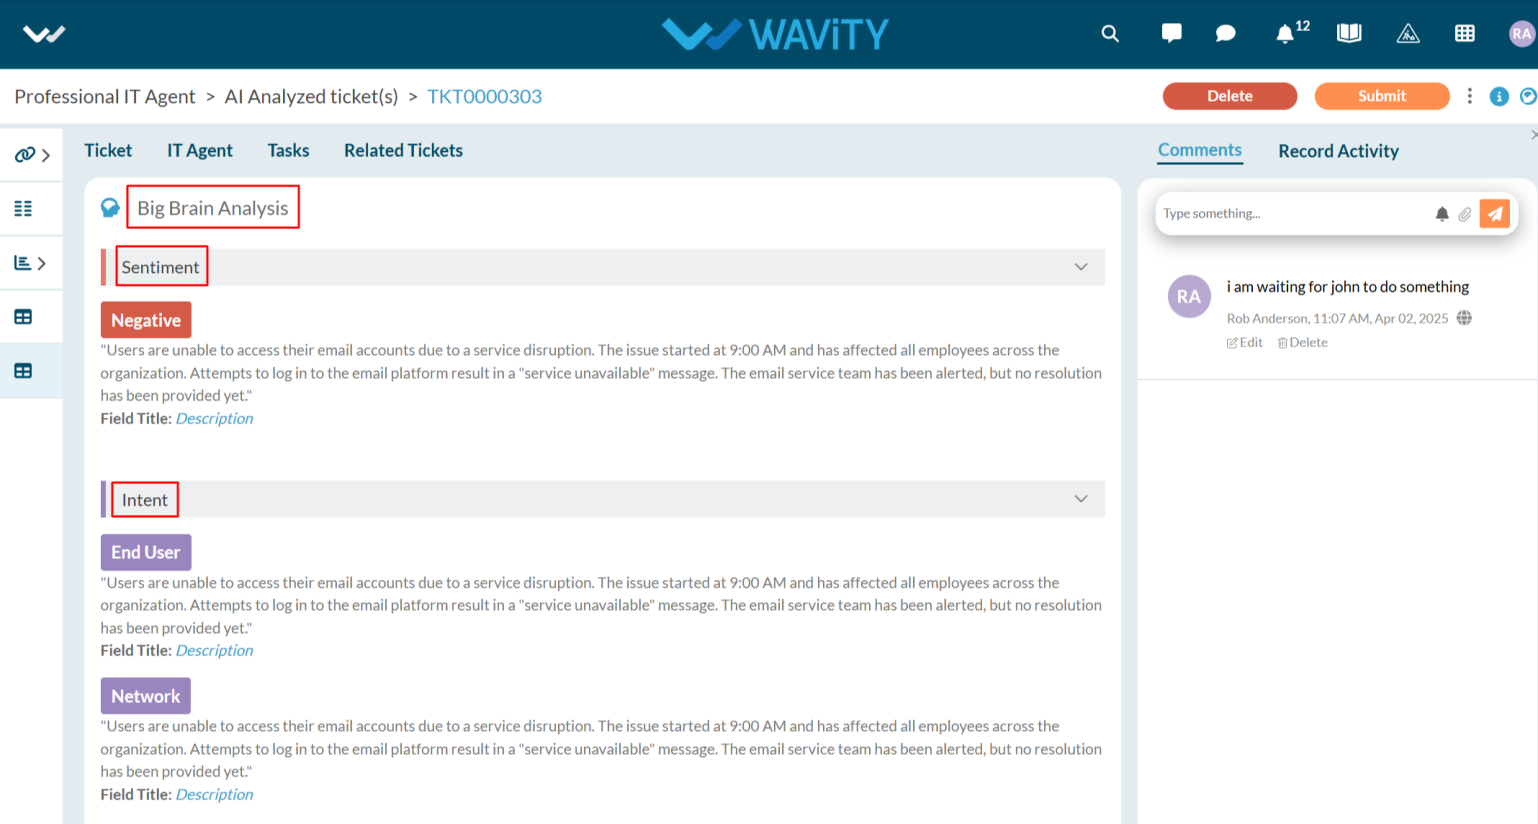
Click on Big brain Analysis.
This section displays the sentiment of the user who created the ticket, along with the AI-generated ticket categorization under the Intent category. Based on the category identified in the Intent, AI can automatically assign the ticket to the appropriate agent.