With Conversational UI, agents can interact directly and send messages with end users while managing and resolving a ticket.
Only admin of your organization can enable this feature in Wavity.
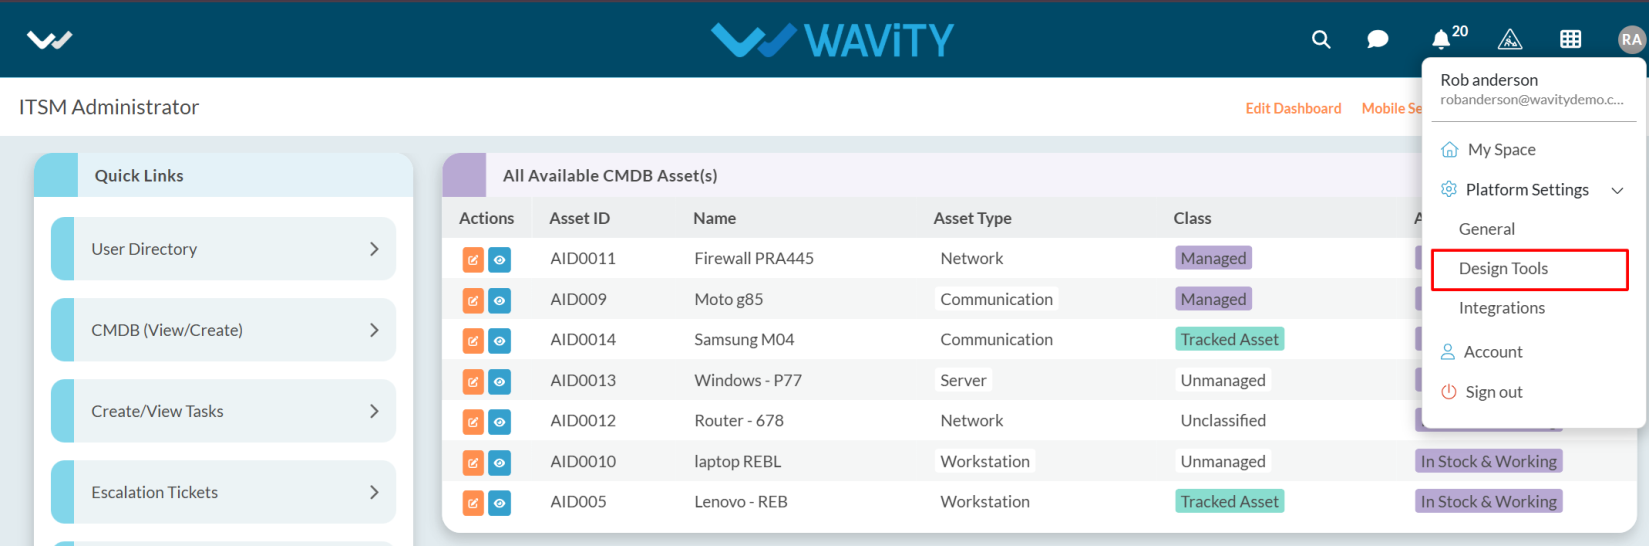
Click the Profile icon to enable this feature.
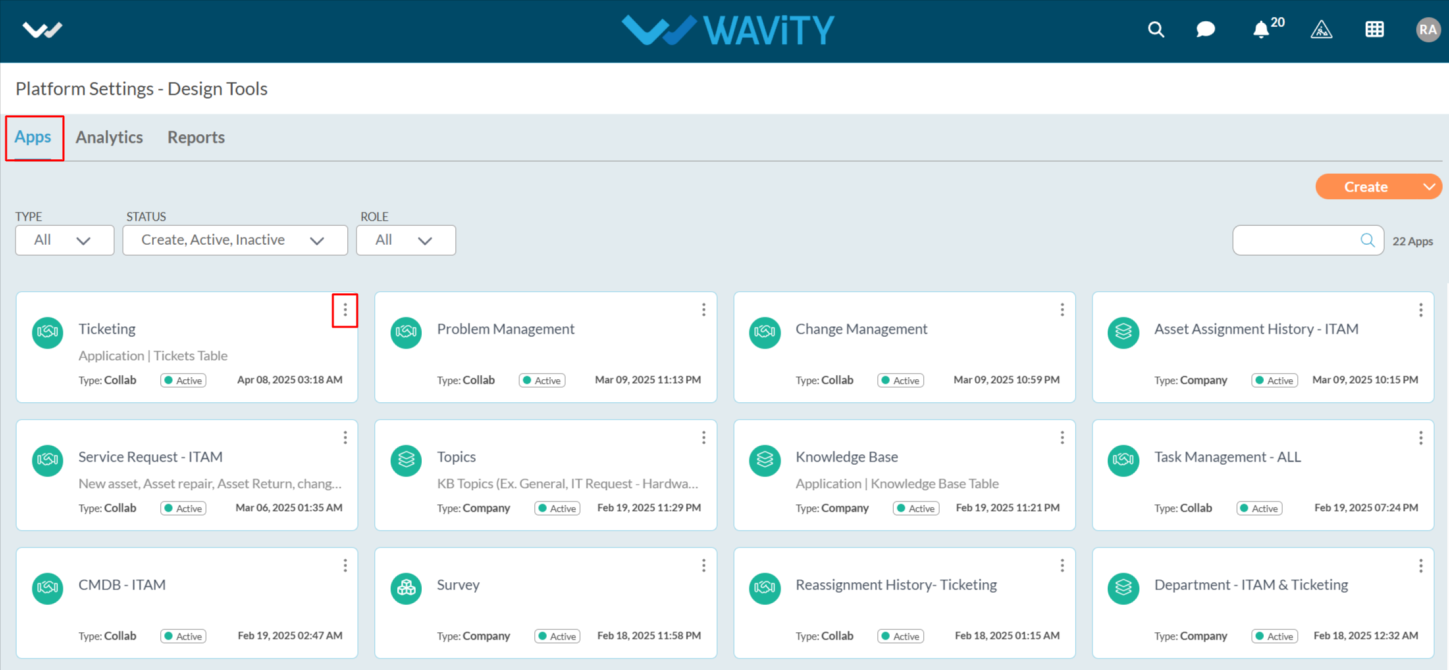
Open Design Tools.
Go to the Apps, pick the app you want, and click on the menu (three dots).
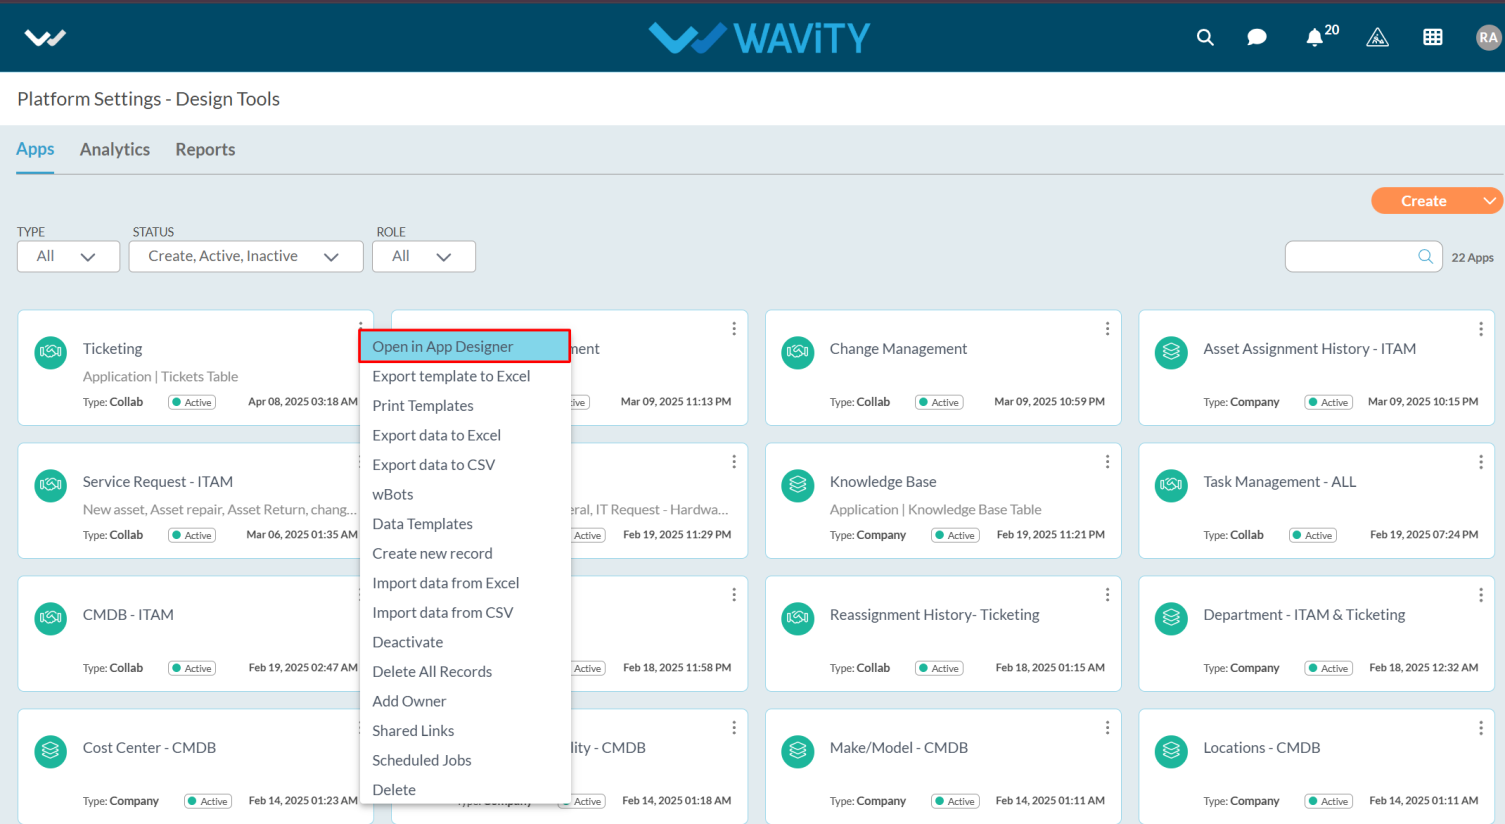
From the three-dot menu, choose Open App Designer.
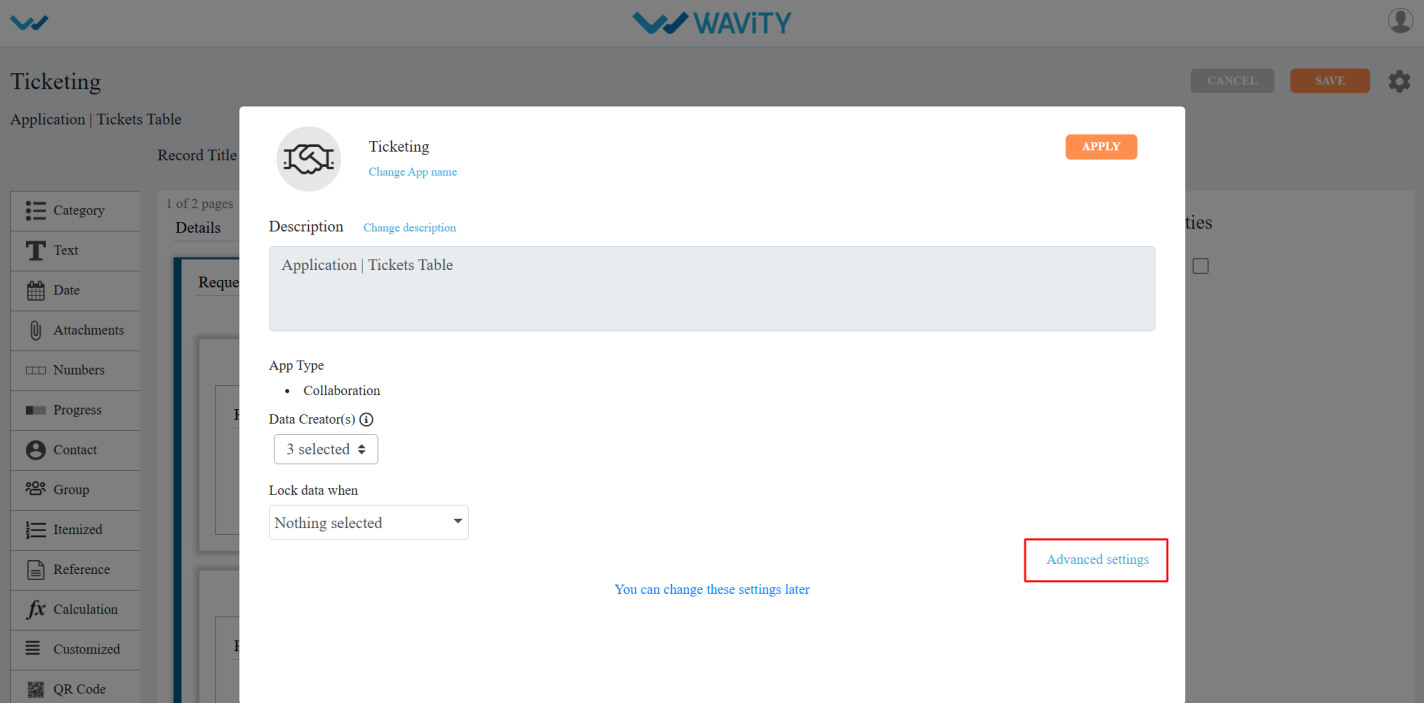
Click the Settings icon.
Click on Advanced settings.
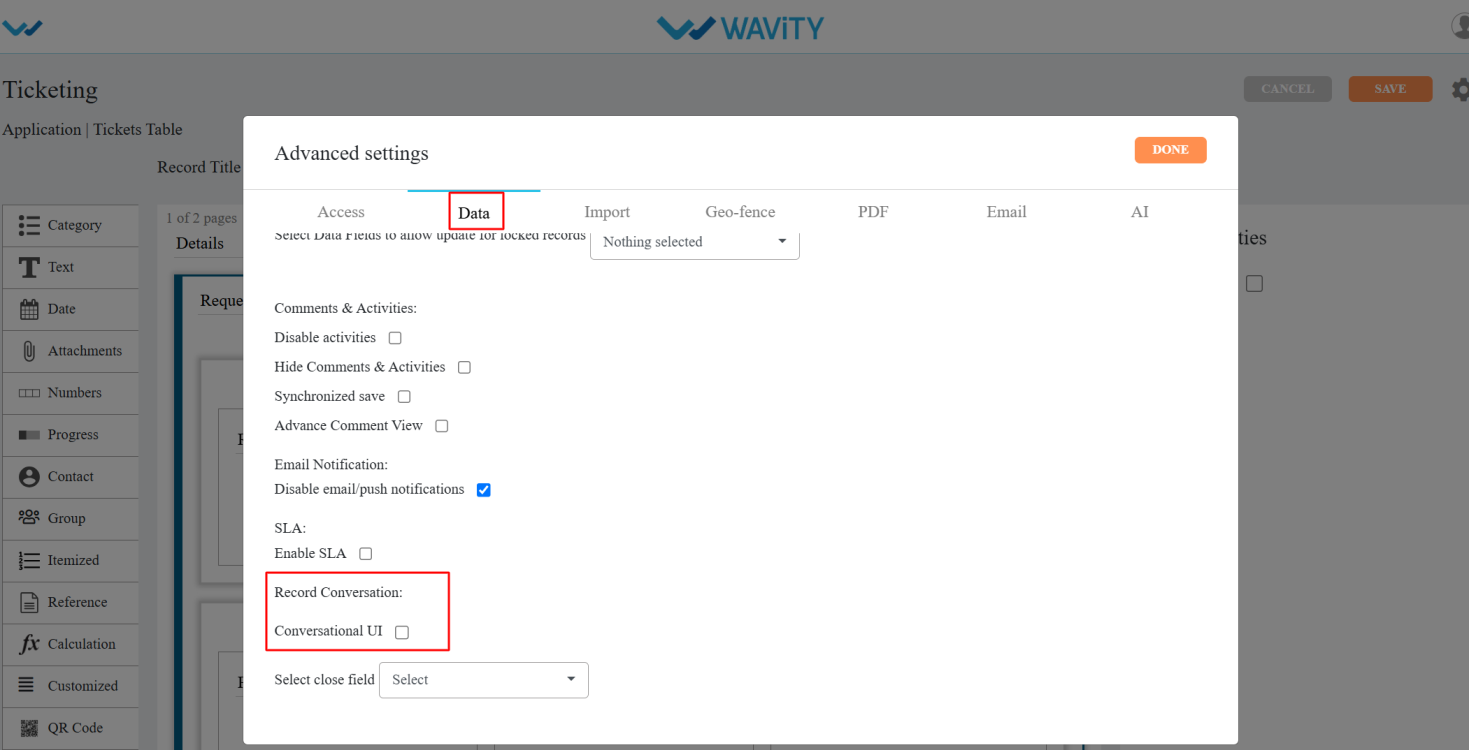
Click on the Data section and scroll down.
You will find Conversational UI under Record Conversation, as shown in the image below.
Conversational UI: Enabling this feature will display the record in a Conversational UI format.
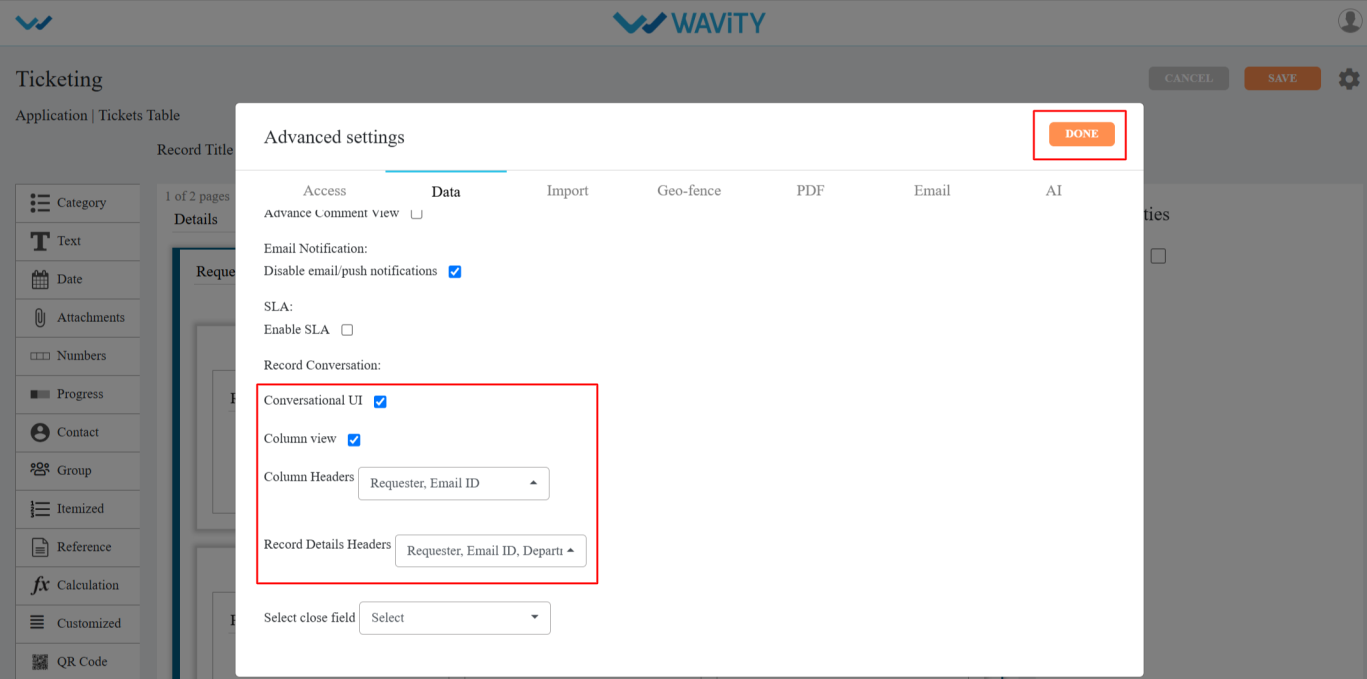
After enabling this feature, a Column View option will appear. When you select it, you’ll see two more options: Column Headers and Record Details Headers.
In the Column Headers dropdown, you can select up to two data controls. In the Record Details Headers, you can choose as many data controls as needed and click on the done and save the changes.
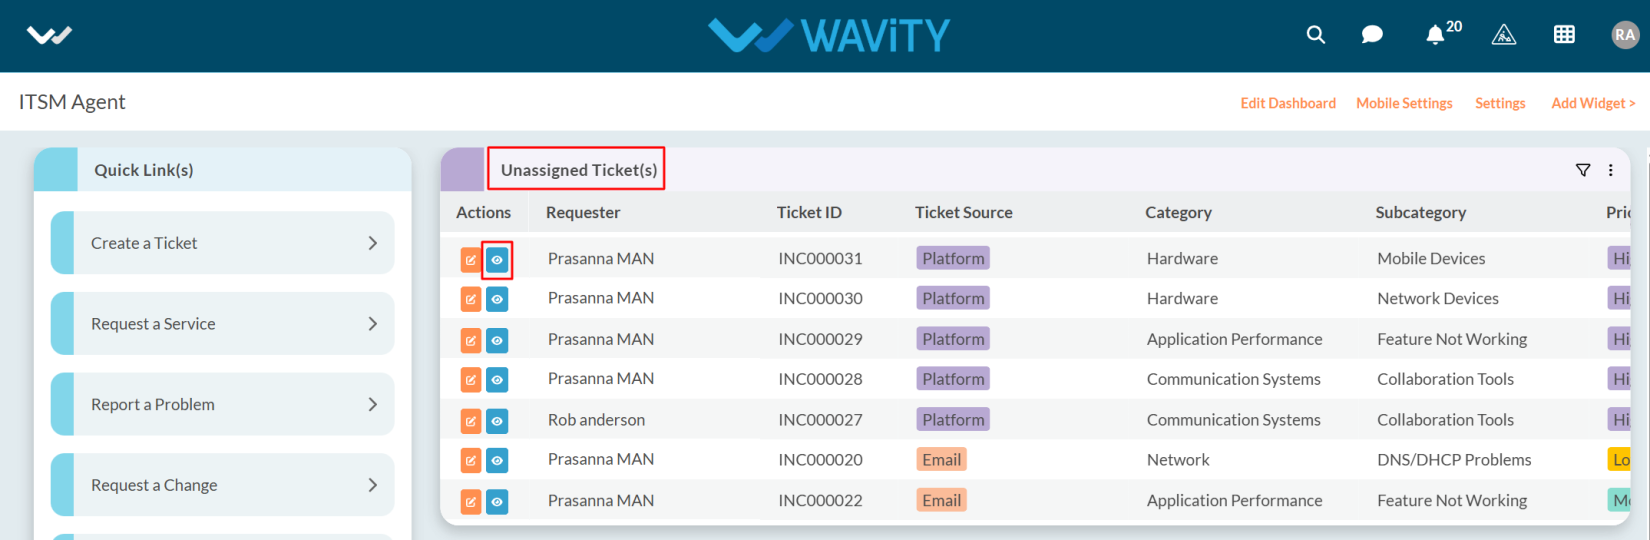
Go to the dashboards and select a ticket from the Table widget by clicking the blue eye icon.
At this stage, the ticket appears in the Conversational UI format for easier interaction as shown in the below image.