How to enable Out of Office (OOO) Feature
- Admin/Solution Owner has the access to enable/disable Out of Office feature in the platform.
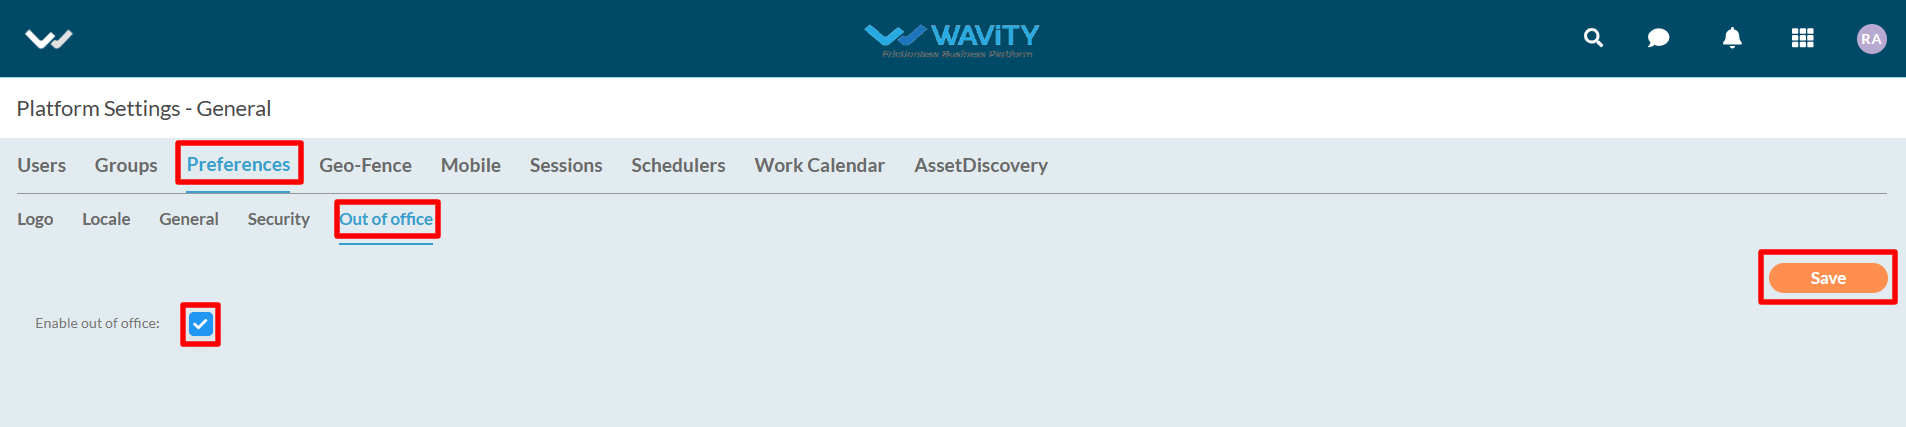
- First step is for Admin to enable “Out of Office” feature in the platform; click on Profile Icon > Platform Settings - General > Preferences. Click on ‘Checkbox’ to enable Out of office feature. Refer below image.
- Users within the platform can now activate the Out of Office option. When enabled for a specific user, assignments to that user will be suspended, and Service Level Agreements (SLAs) will not be taken into account during the designated period.
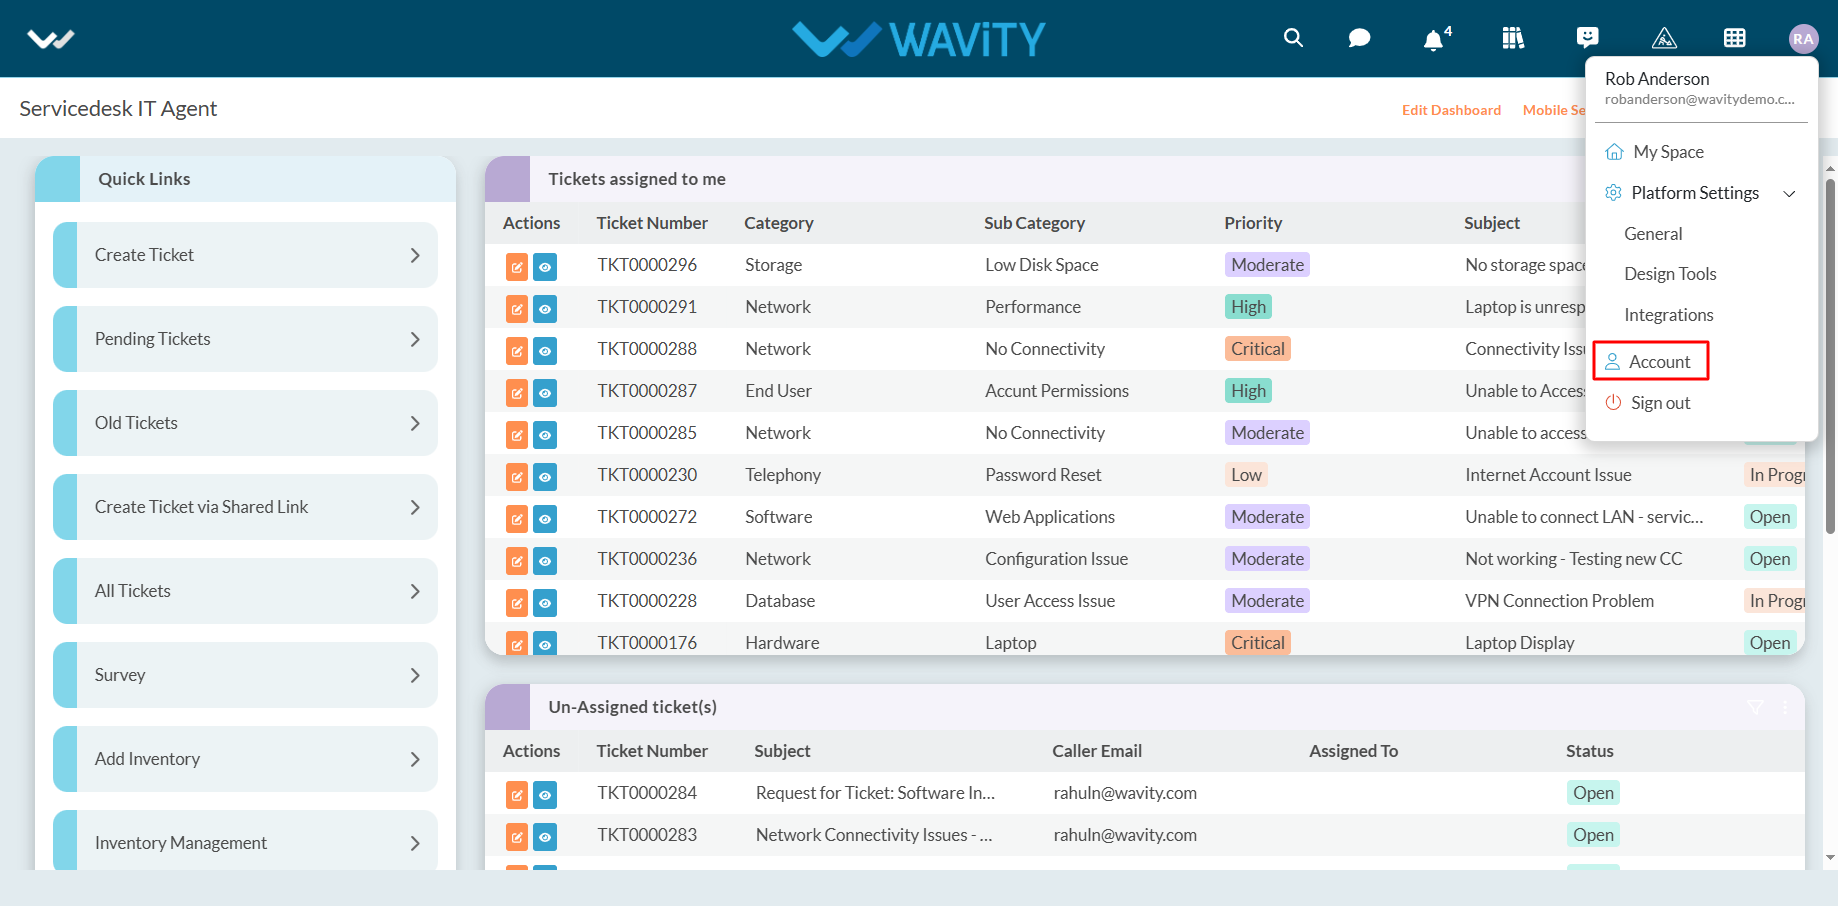
- For User to activate “Out of Office” for themselves, click on Profile Icon >Account. Refer below image.
- Click on “Out of Office” section.

- Enable the ‘Checkbox’ beside “Enable Out of Office”. Now, User can enter the start time and end time. Click on “Save” button to complete the process.
