Guide to Notification Types and Configuration
- In the Wavity platform, when a ticket is created or updated, notifications are delivered through Wbots.
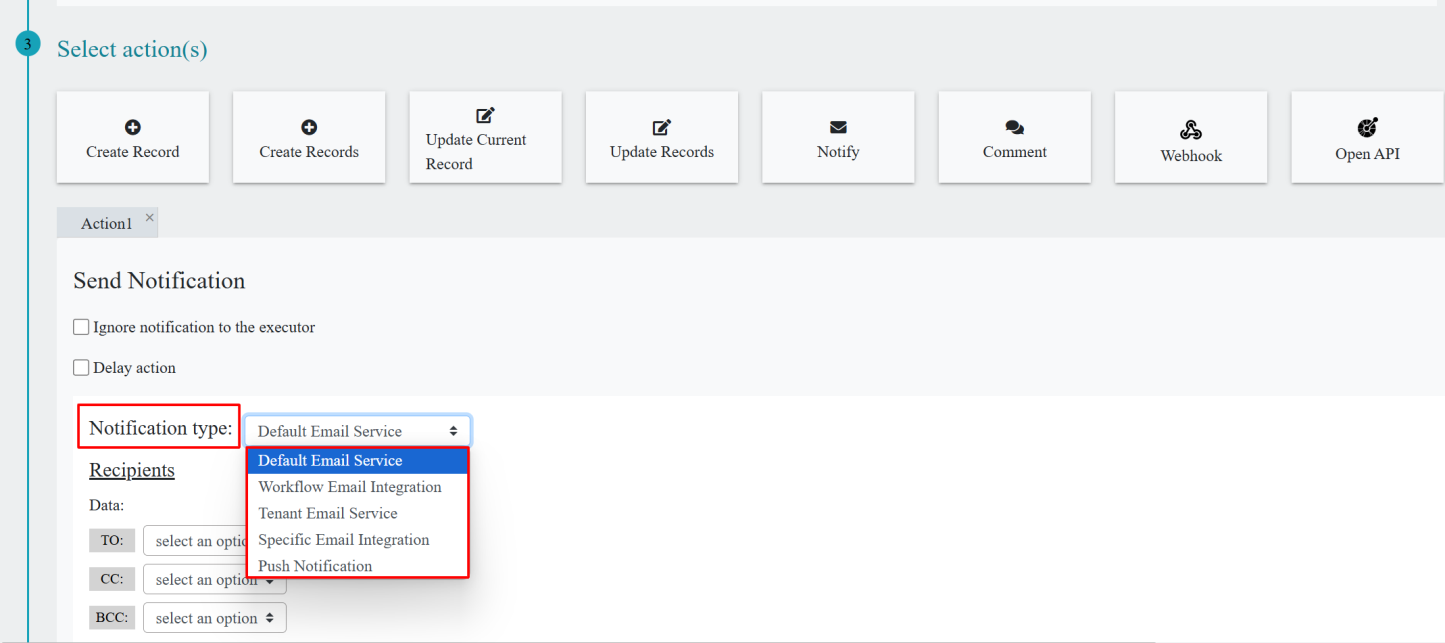
- Wbots support various notification types, which include:
- Default Email Service
- Workflow Email Integration
- Tenant Email Service
- Specific Email Integration
- Push Notification
- You can select the notification type in Wbots by following these steps:
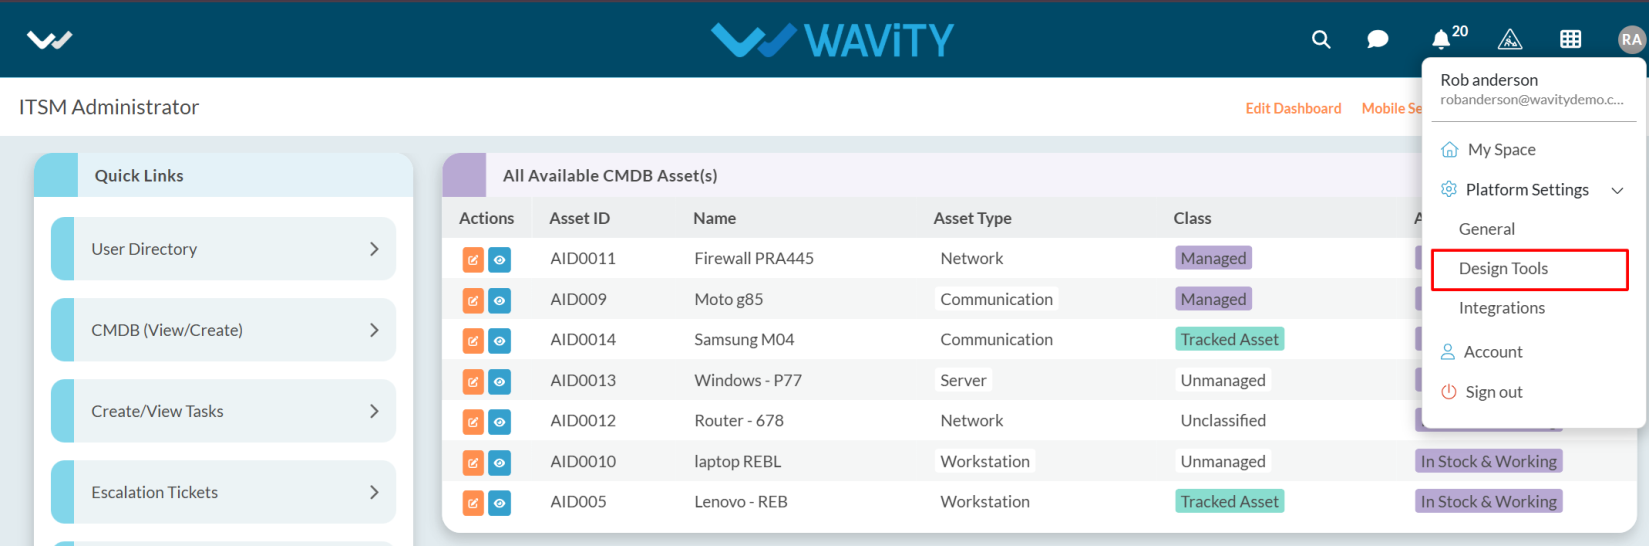
- Click on the Profile icon.

- Open Design Tools.
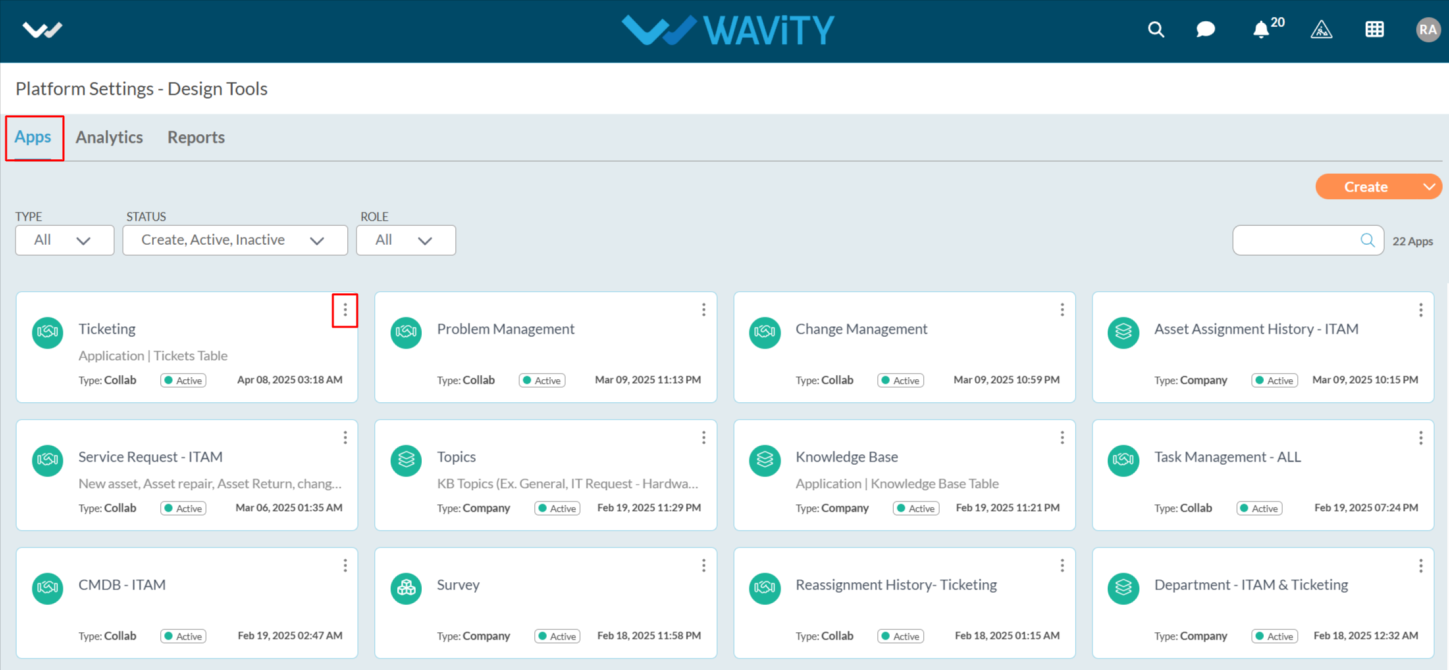
- Go to the Apps, pick the app you want, and click on the three dots.
- From the three-dot menu, choose Wbots.
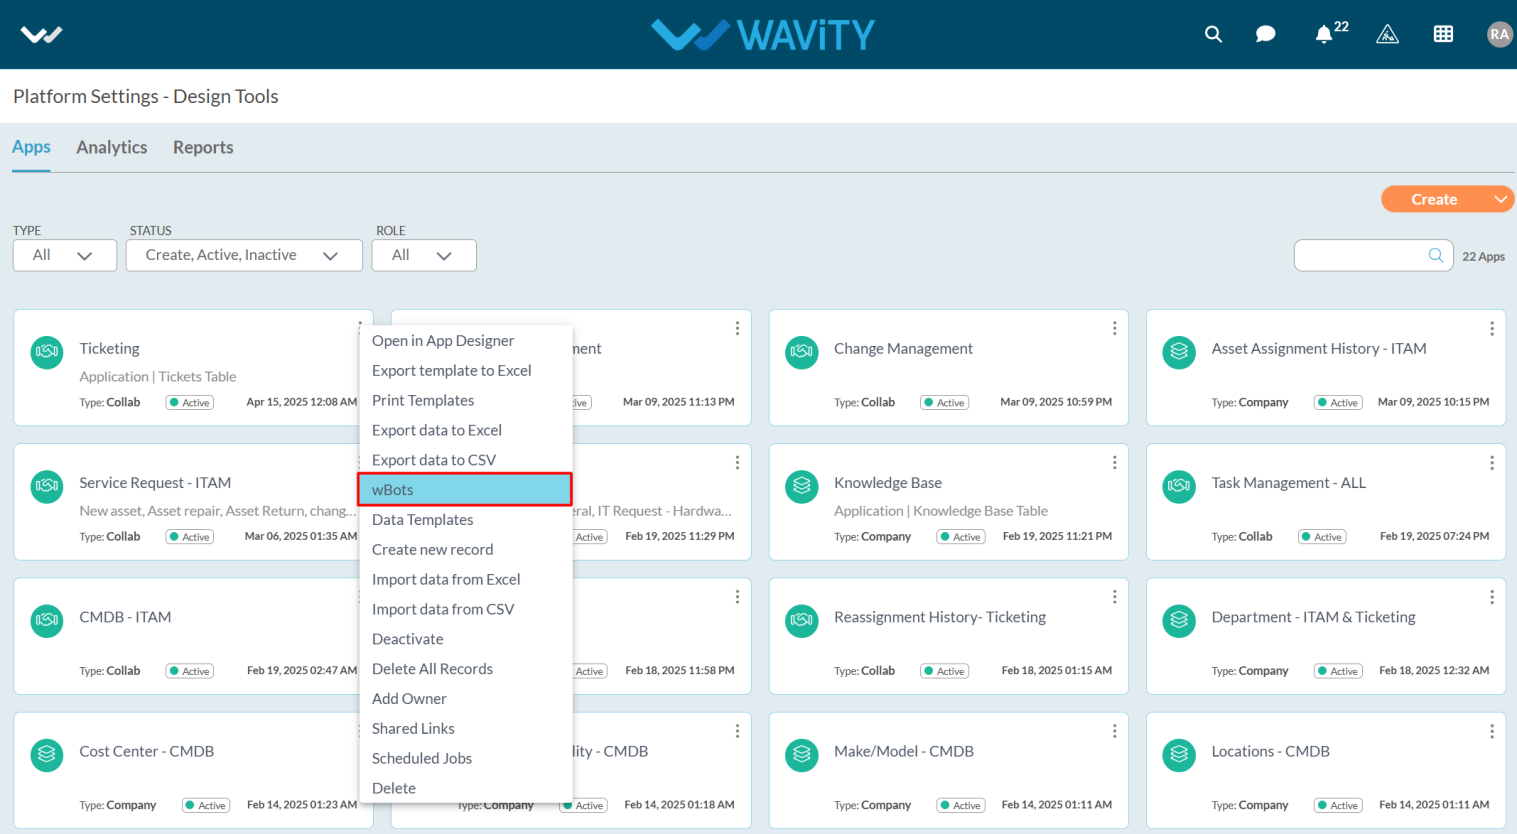
- After selecting the Wbots option, you will be directed to the Wbots Configuration page.
- Click on the Create button.

- In Select action(s), select Notify.
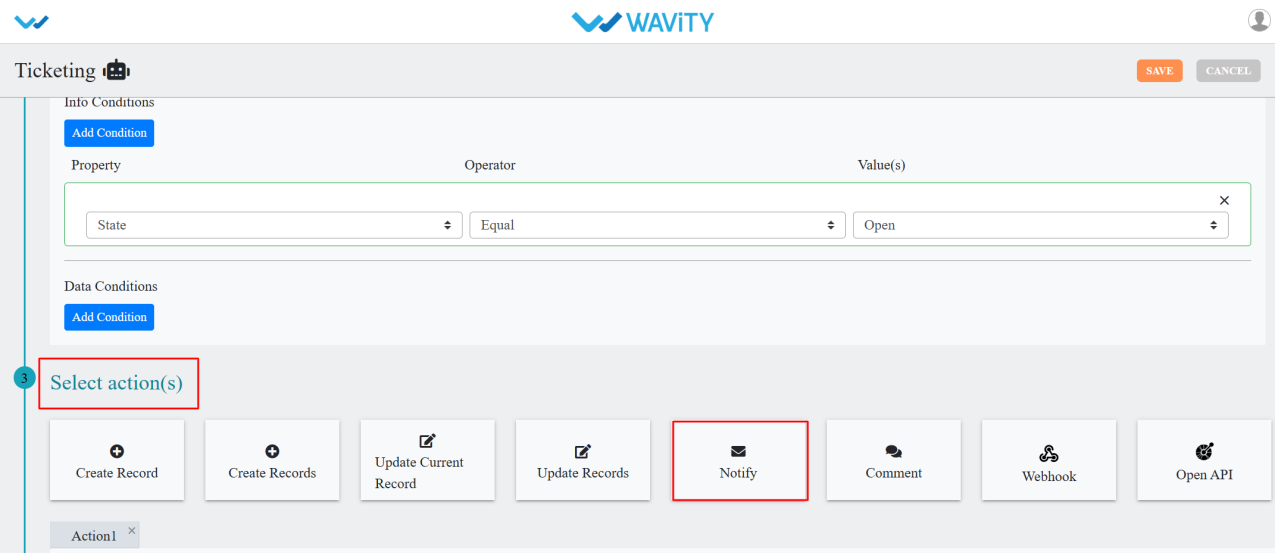
- In the Notification type, you can choose the desired notification type based on your requirements.
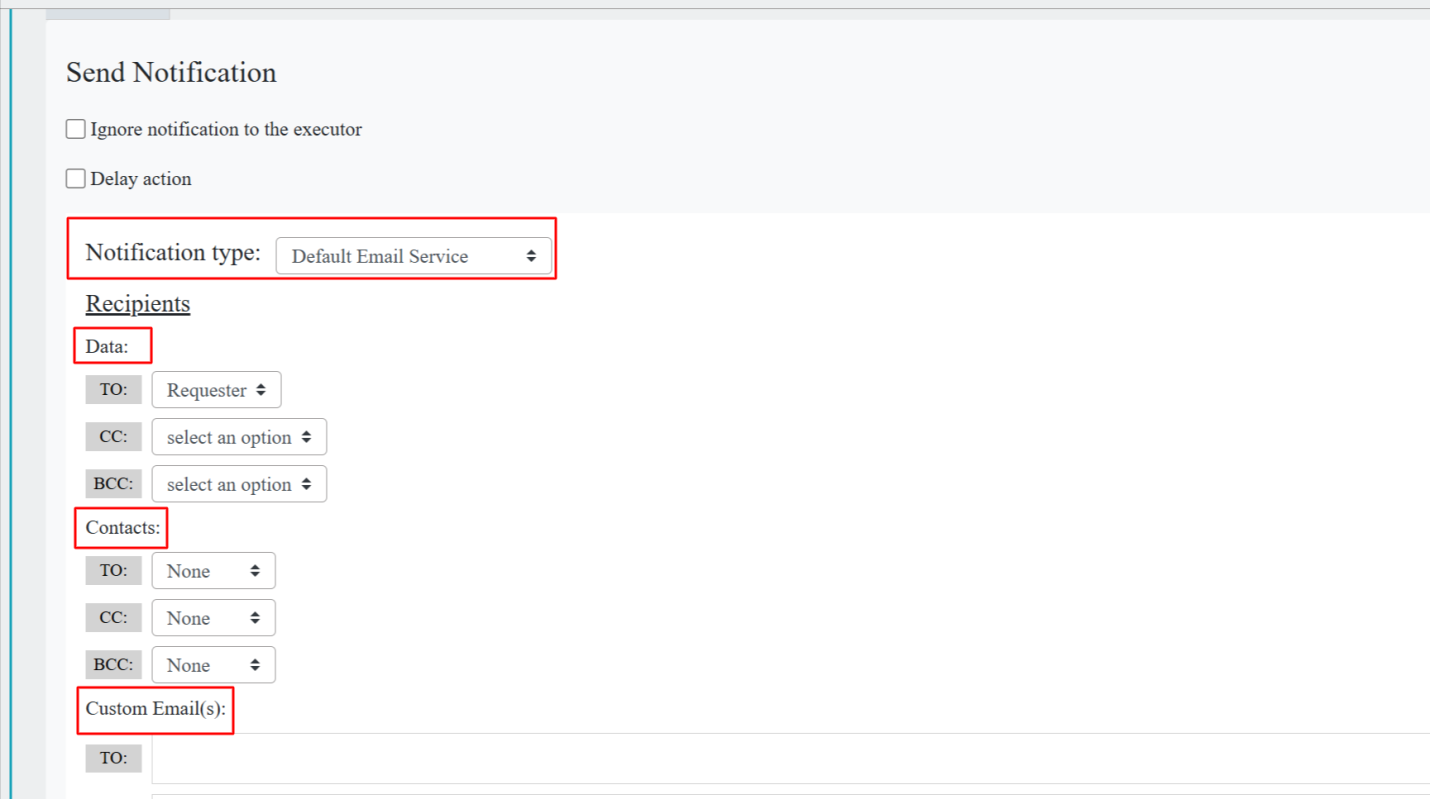
Default Email Service:
- For the Default Email Service, there is no need to set up specific email integration.
- You can select recipients for To, CC, and BCC from the Data, and also choose individual users or groups from the Contacts section.
- Notifications can also be sent to users who are not part of the Wavity platform by entering their email addresses in Custom Email(s). If you want to notify a specific user, you can include them in the Custom Email field.
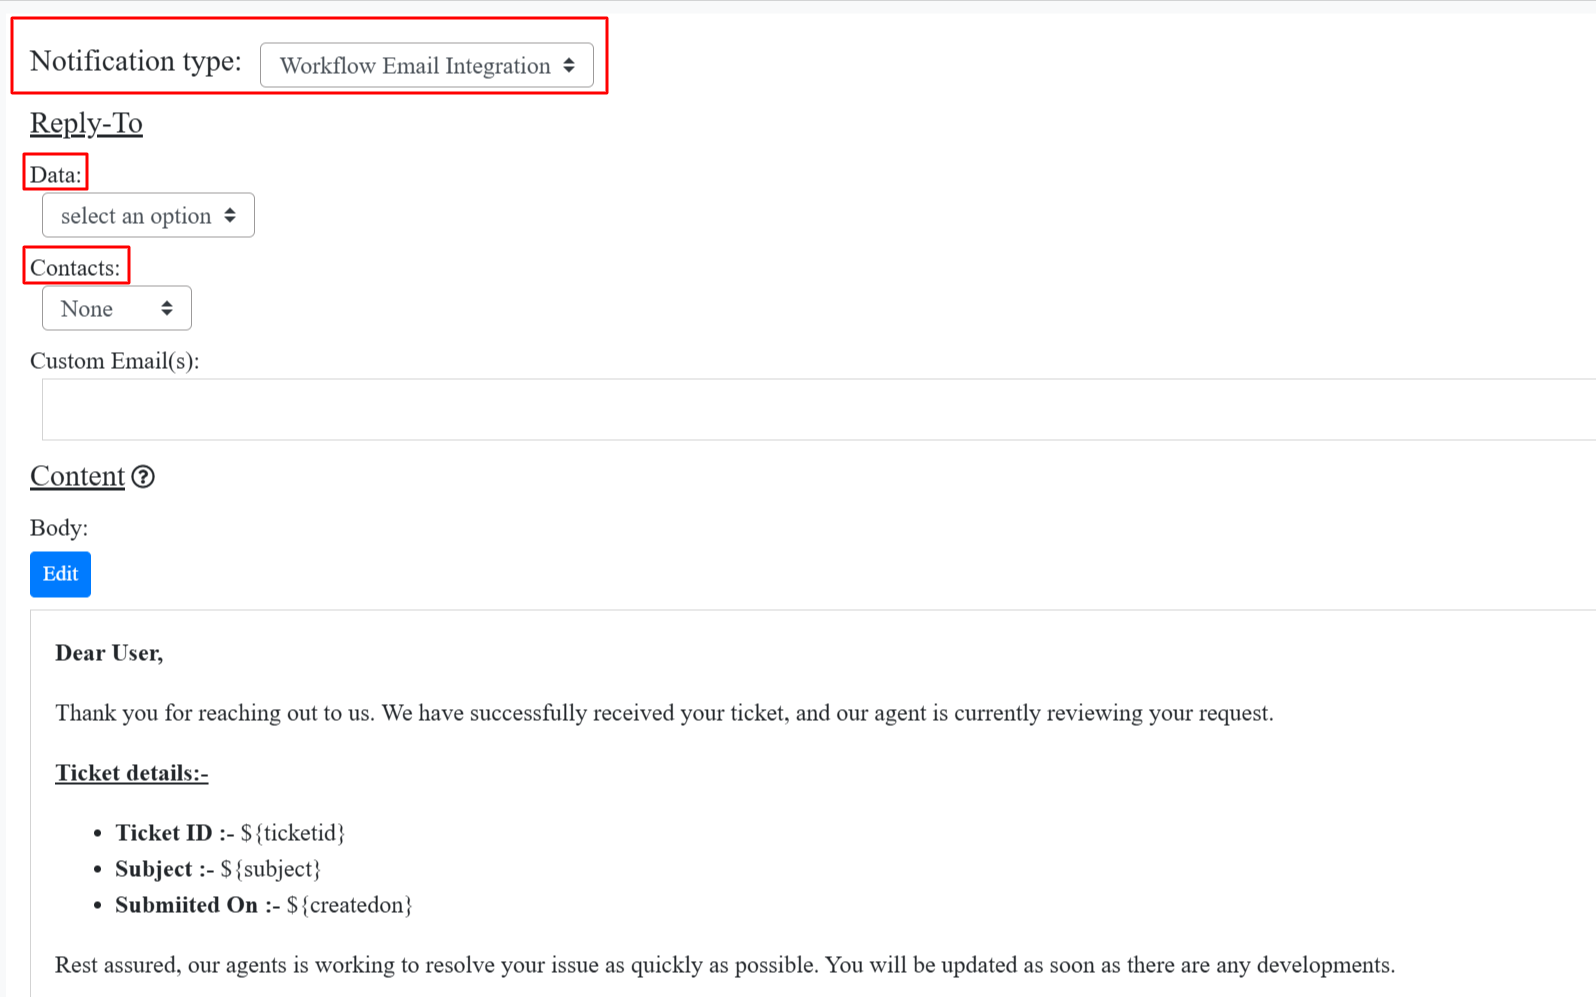
Workflow Email Integration:
- Workflow Email Integration is triggered when a ticket is created via email and sends a notification to the requester.
- When a sender creates a ticket via email, and includes someone in CC or BCC, those recipients will also receive a notification indicating that the ticket has been created.
- There is no option to select Contacts or Data Forms within the Workflow Email Integration.
- However, you can select Contacts and Data Forms in the Reply To section, and also enter custom email addresses.
- You can then enter the desired email body and save it.
Tenant Email Service:
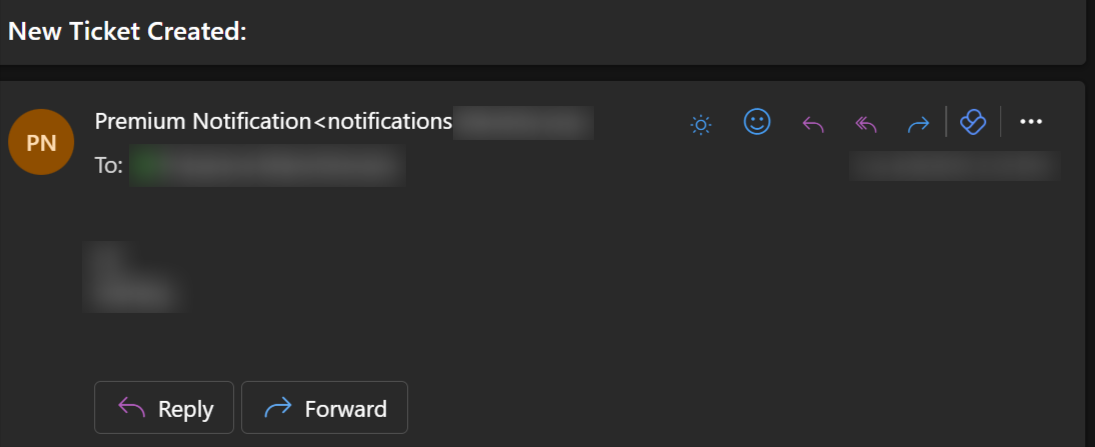
- When you select Tenant Email Service, all notifications related to ticket creation, updates, and other actions will be sent on behalf of the tenant name.
- For Tenant Email Service, you need to select the recipients from Data or Contacts based on your requirements.

- For example, if your tenant name is Premium, the notifications will appear to come from Premium Notification<notification> as shown in the image below.
Specific Email Integration
- The Wavity Platform ,you can give specific Email Integration to integrate with platform to notify the users
- To begin, click on your Profile Icon, then select Integrations.
- In the Email section, click the Create button located at the top-right corner.
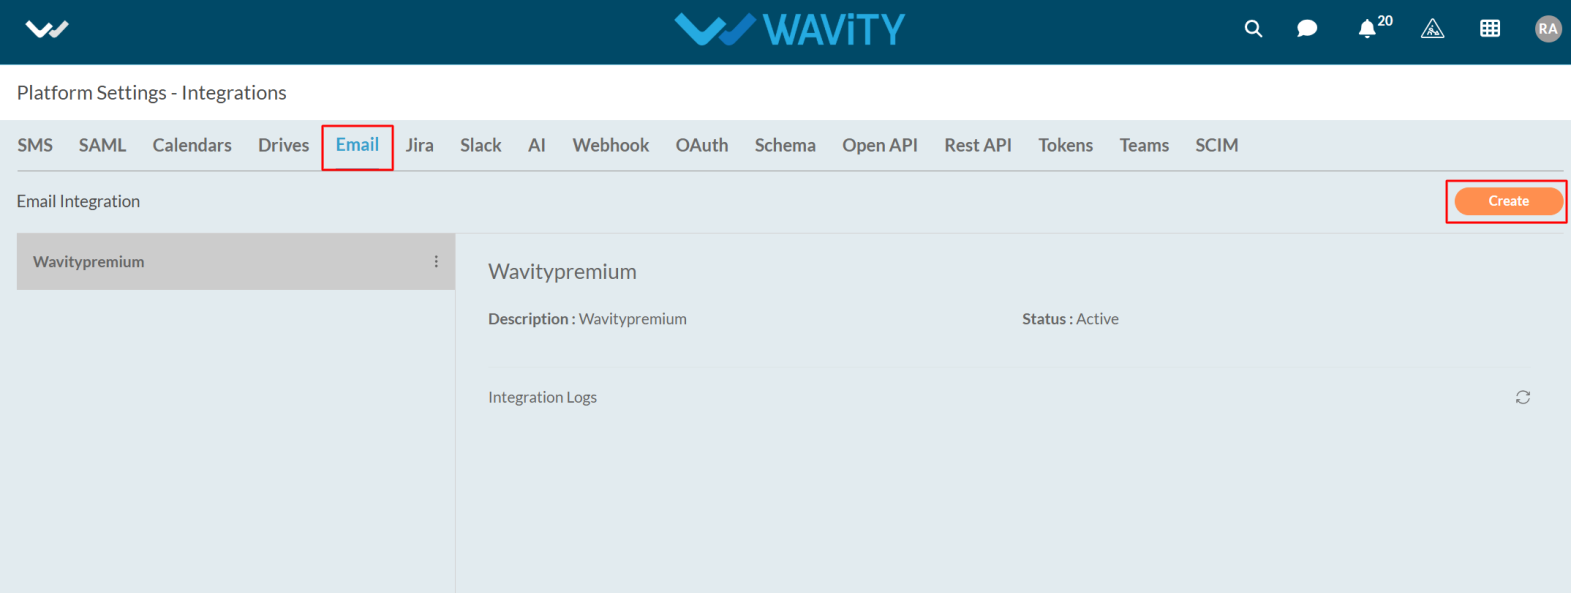
- Enter the Name and Description as required.
- Select the Type of Email Integration as shown in the image below, and then click on Click to Link Your Account.

- After clicking, you'll be prompted to enter the email address and its password.
- Once the credentials are verified, you’ll receive a notification confirming: Your account has been linked successfully and click on the save button.
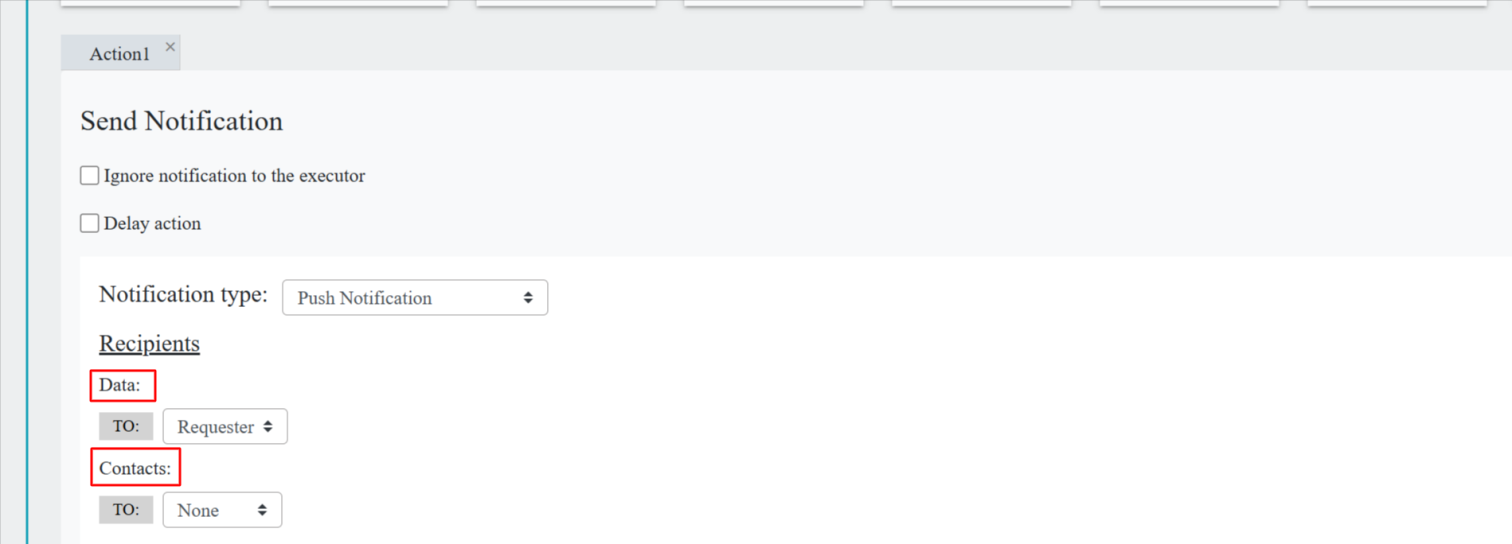
Push Notification
- Push Notifications allow users to receive alerts on their mobile devices when a ticket is created or updated.
- Notifications are sent to both moderators and the end user who created the ticket.
- In Wavity Platform, we can get the notification in Mobile also.
- For Push Notification, you need to download the Wavity App from Play store or app store.
- After installing the Wavity app, enter the tenant details as well log in to your account by entering your username and password.
- Once the tenant details are entered, you'll be directed to the default landing page.
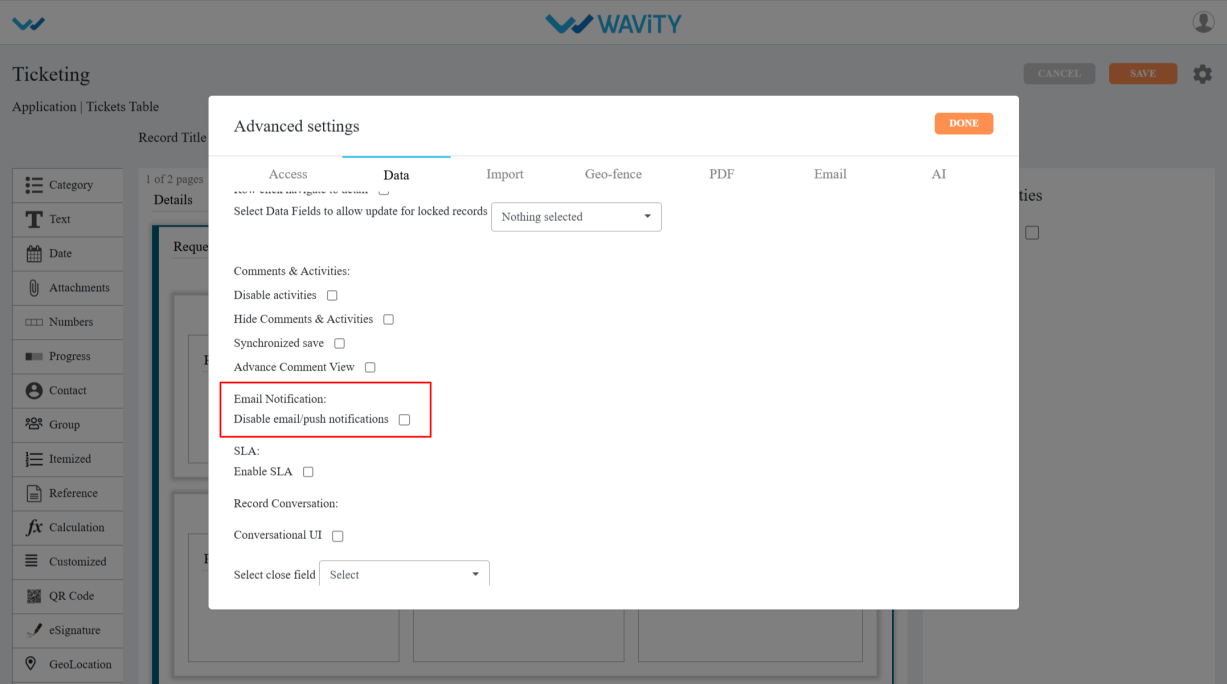
- By default, Push Notification will be enabled in open app designer > Advanced settings.
- When you select Push Notifications in the Notification Type, you need to choose the recipients from Data and Contacts.
- After selecting the recipients, make sure to save the changes.